Introduction to Honey Harvesting
Harvesting honey is one of the most rewarding parts of beekeeping, but it’s also a process that requires knowledge and care. For those new to beekeeping, understanding how to harvest honey effectively can be a little daunting. When done right, honey harvesting benefits both the beekeeper and the bees, creating a sustainable cycle of honey production that keeps the hive healthy and the honey flowing.
Bees are a symbol of nature’s cooperation and productivity; without them, much of our food supply would vanish. – Albert Einstein
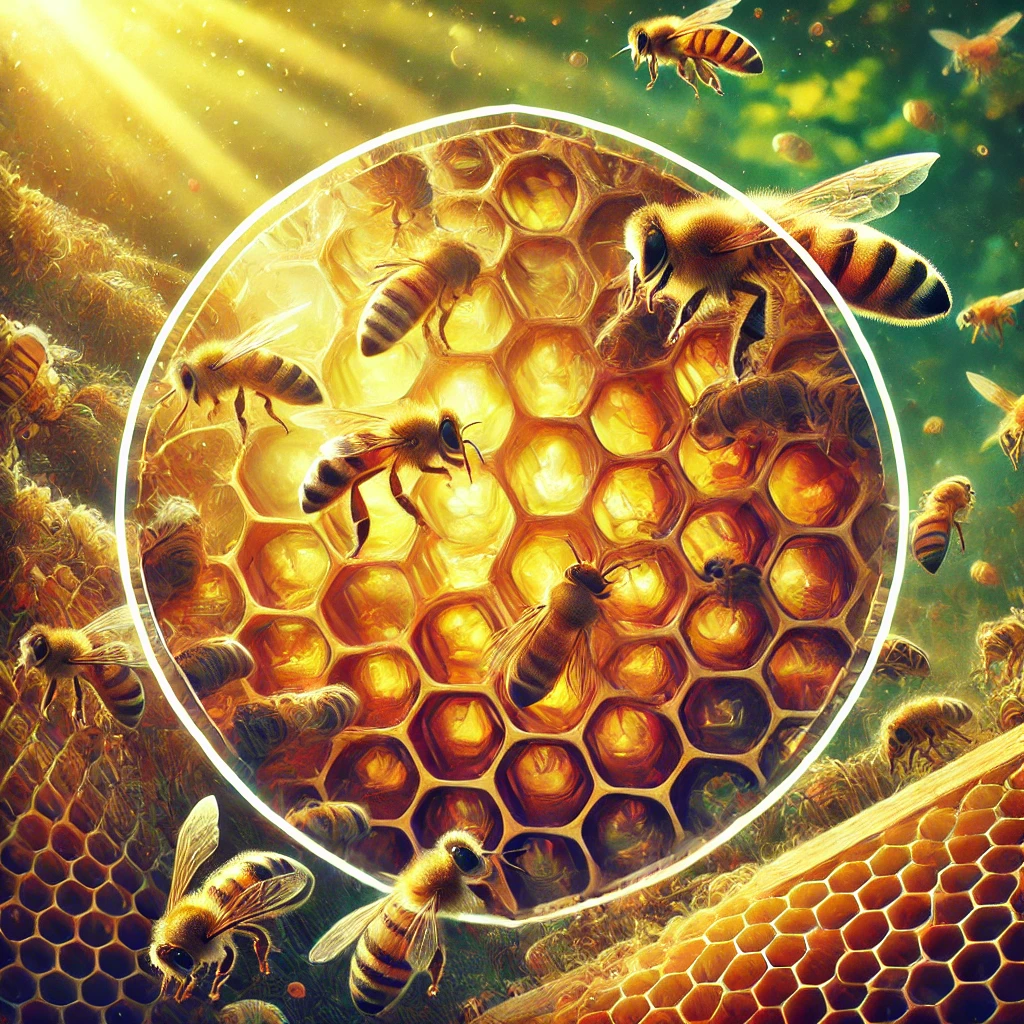
Here’s what we’ll cover in this guide:
- What is Honey Harvesting? A brief look at the process and purpose of honey harvesting.
- Why is Honey Harvesting Important? How harvesting helps maintain hive health and promotes natural bee activity.
- Benefits for the Bees and You: Learn why a well-timed harvest is good for the bees and results in high-quality honey for you.
Quick Fact: Did you know that harvesting honey can actually help prevent overcrowding in a hive? When bees have too much honey stored, they may begin to feel cramped, which can lead to swarming. Harvesting regularly frees up space, keeping the hive happy and productive!
What is Honey Harvesting?
Honey harvesting involves carefully removing honey from the hive, usually in the form of honeycomb frames, and extracting it for personal use or sale. It’s more than just collecting a sweet treat—it’s a vital process that keeps the hive balanced and supports ongoing honey production. For a beginner beekeeper, this can feel like a big step, but with the right tools and timing, it’s a manageable and safe task.
Why is Honey Harvesting Important?
Honey harvesting isn’t just about gathering honey for consumption. It plays an essential role in managing the hive’s health. A hive that’s never harvested can become overcrowded, leading to stress in the colony and increasing the likelihood of swarming, where bees leave to create a new hive. By harvesting honey, beekeepers maintain a healthy space for the bees, allowing them to continue their work without feeling cramped or overworked.
Benefits for the Bees and You
When done with care, honey harvesting benefits everyone involved:
- For the Bees: Harvesting helps maintain the hive’s internal balance. Bees instinctively fill available space with honey, and when that space becomes limited, they may reduce honey production or start swarming. By harvesting honey regularly, beekeepers help the bees sustain a natural rhythm of collecting nectar and producing honey.
- For the Beekeeper: Regularly harvested honey is often of higher quality, as it’s less likely to contain excessive moisture or impurities. Additionally, keeping a hive productive reduces the risk of pests and diseases, as bees can focus on maintaining the hive rather than swarming or fighting off infestations.
With this foundation, you’re ready to dive deeper into the details of when and how to harvest honey. We’ll cover the best timing, the tools you’ll need, and how to keep the bees safe while enjoying the fruits of their labor.
Timing and Readiness for Harvesting Honey
Knowing when to harvest honey is just as important as knowing how. Timing impacts the quality of the honey, the health of the hive, and the sustainability of honey production. A well-timed harvest ensures that you’re collecting honey when it’s fully matured, meaning it has the right moisture content and a stable consistency. But how do you know when it’s the right time? Let’s break down the essential signs and factors that indicate when honey is ready for harvest.
Timing is everything, especially in nature. Rushing things often disrupts the natural order. – Rachel Carson, author of Silent Spring
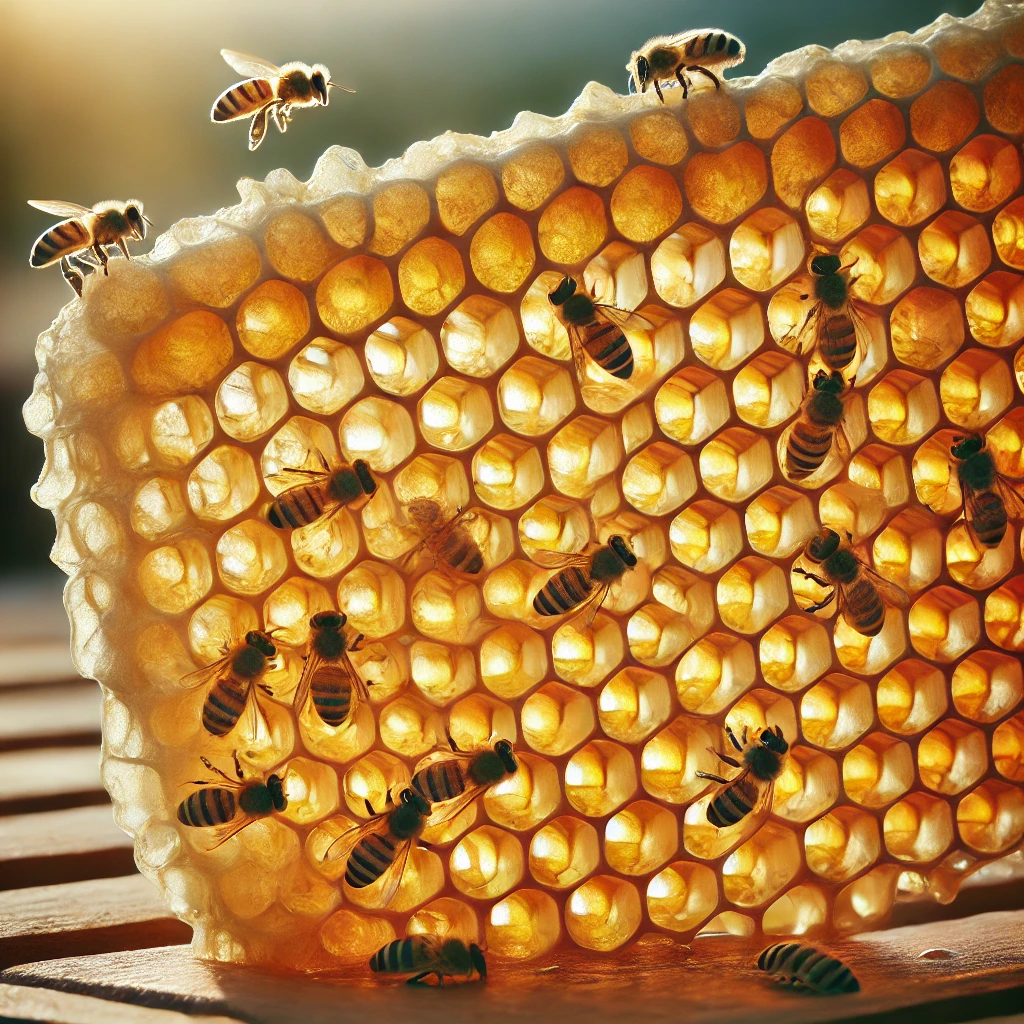
Best Time to Harvest Honey
Honey harvesting generally happens in late summer or early autumn, but the exact timing can vary depending on local climate, floral availability, and hive activity. Bees work hard during spring and summer to gather nectar, but honey takes time to mature, so patience is key.
- Seasonal Cues: In most regions, bees produce the most honey between May and September, making late summer the peak harvesting period.
- Climate Considerations: Warm, dry weather helps bees maintain the low moisture content that makes honey stable and shelf-friendly. In humid climates, bees may take longer to process nectar fully.
Did You Know? Bees use natural ventilation to reduce the moisture content in nectar, transforming it into honey. This process keeps honey shelf-stable without preservatives.
Recognizing When Honey is Ready
Not all honey in a hive will be ready for harvest at the same time. The key indicator? The honey should be “capped” with a thin layer of wax. Bees seal each honey cell with wax when it reaches an optimal moisture content of around 18%. Uncapped honey is not fully matured and may ferment if harvested too early.
- Capped Honey Cells: Look for honeycombs covered in white or light-colored wax. This capping indicates the honey is ripe and ready for collection.
- Moisture Content: Fully matured honey has a low moisture level, which prevents fermentation. Harvesting unripe honey with higher moisture levels can lead to spoilage.
How Often to Harvest Honey
While it may be tempting to harvest frequently, it’s best to limit honey extraction to once or twice a year. Over-harvesting can strain the hive, especially if bees don’t have enough time to build up their stores for winter. Allow the bees to produce and cap honey at their own pace, respecting the natural rhythms of the colony.
Seasonal Factors and Harvesting in Colder Months
In colder months, bees cluster together to stay warm and conserve honey for themselves, making late fall or winter harvesting disruptive. Stick to warmer months for honey harvesting, and leave enough honey in the hive for the bees’ winter needs.
- Spring and Early Summer: Avoid major harvesting during spring; this is when bees build up stores for summer.
- Fall Harvest: A light fall harvest is okay, but leave at least 40-50 pounds of honey in the hive so the colony has sufficient winter food.
With a careful eye on timing and bee behavior, you can ensure that your honey is high quality and that your hive stays healthy and productive. Up next, we’ll dive into the essential tools and techniques you’ll need for a successful honey harvest. Let me know when you’re ready for the next section!
Essential Equipment and Techniques for Honey Extraction
When it’s finally time to harvest, having the right tools and knowing the best techniques can make all the difference. The honey extraction process doesn’t have to be overwhelming, and with a few essentials, even beginners can successfully extract honey from their hives. Below, we’ll explore the must-have equipment, different extraction techniques, and a few options for those without an extractor.
Key Tools for Harvesting Honey
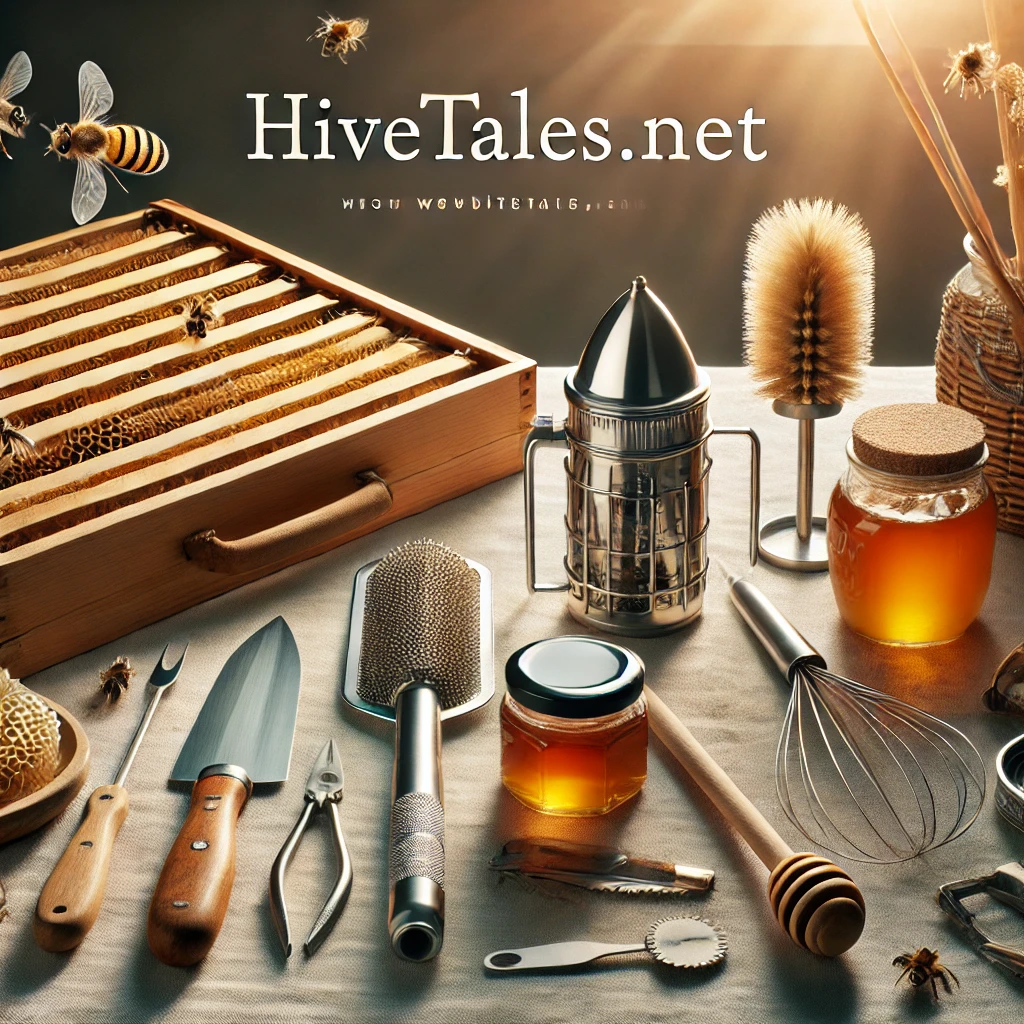
To safely and effectively extract honey, you’ll need a handful of tools. While some beekeepers prefer a full setup, you can start with just the basics and add more equipment as you grow more comfortable.
- Bee Smoker: The smoker calms the bees, making it easier and safer to work within the hive. A few gentle puffs of smoke will encourage bees to move away from the frames you plan to harvest.
- Hive Tool: This versatile tool helps pry apart frames and scrape off excess wax. Think of it as the Swiss Army knife of beekeeping!
- Bee Brush: Use a soft brush to gently move bees off the frames. Avoid rough handling, as this could damage the honeycomb.
- Honey Extractor (Optional): For those who want to streamline the process, a honey extractor—either manual or electric—spins the frames, using centrifugal force to release honey from the comb without damaging it.
Pro Tip: If you’re just starting, consider renting a honey extractor from a local beekeeping association instead of buying one. Extractors can be pricey, and this lets you test different models before committing.
How to Extract Honey from the Comb
Extracting honey can be done with or without specialized equipment. Here are a few techniques based on the type of setup you have:
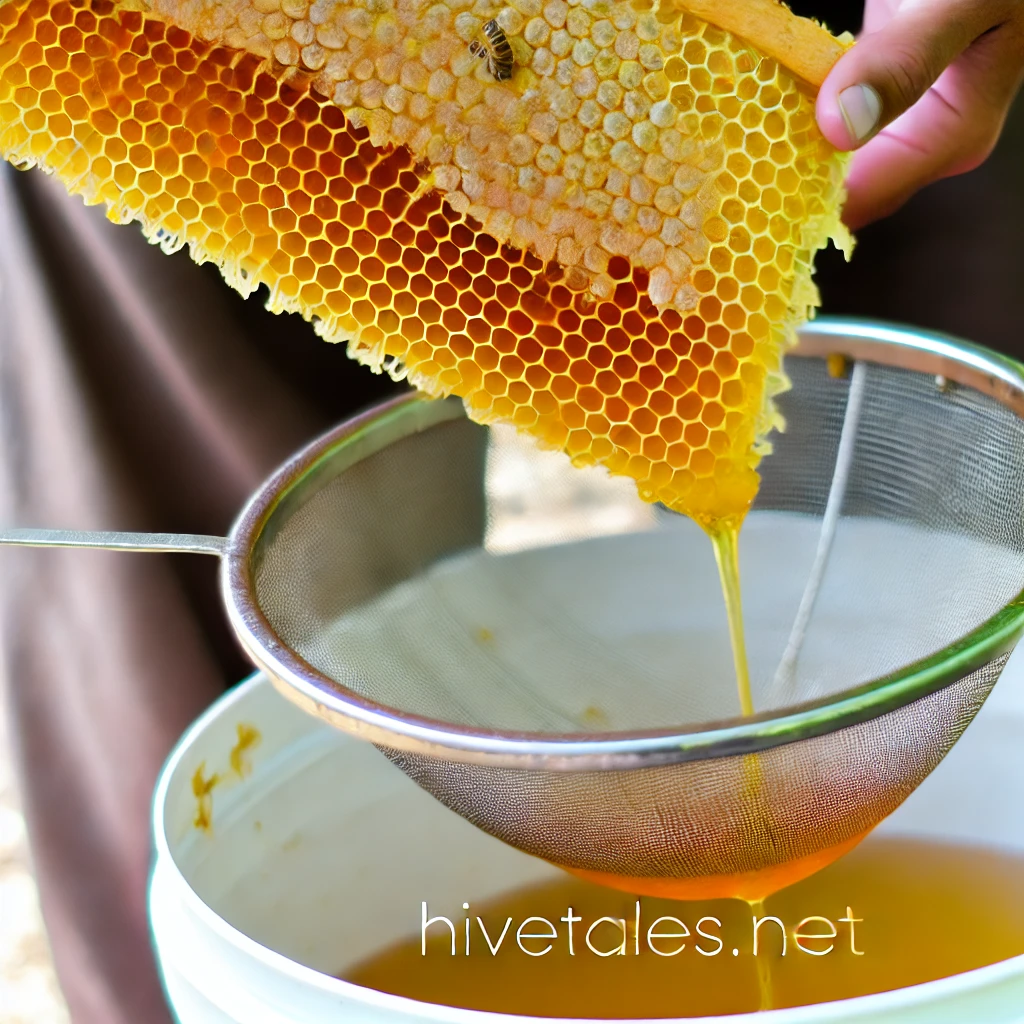
- Crush and Strain Method (for beginners and small-scale harvesting):
- Simply cut the honeycomb out of the frame and place it in a fine mesh strainer over a container.
- Crush the comb to release honey, allowing it to drip slowly through the strainer.
- This method is low-cost and requires minimal equipment, but it sacrifices the comb, which won’t be reusable.
- Using a Honey Extractor (ideal for beekeepers with multiple hives):
- Place the frames inside the extractor and spin. The centrifugal force pulls honey from the cells, leaving the comb mostly intact.
- This technique is faster, keeps the comb reusable, and reduces waste.
- Manual vs. Electric Extractors: Manual extractors are affordable and simple but may require a bit of arm strength. Electric extractors, though more expensive, are efficient and reduce manual effort.
Harvesting Honey Without an Extractor
For those without an extractor, the crush and strain method offers an accessible solution, especially if you have only a few frames to harvest. While it takes longer, the method is effective and can produce pure, high-quality honey. It’s also a great option if you’re new to beekeeping or are harvesting on a small scale.
Beginner-Friendly Techniques for Smooth Extraction
Starting out, it’s important to develop gentle techniques to avoid damaging the honeycomb. Here are a few tips to help ensure a smooth harvest:
- Handle Frames Carefully: Honeycomb is delicate, and rough handling can break the cells, spilling honey and wasting resources.
- Avoid Overcrowding the Hive: If bees don’t have enough space, they may crowd the honey frames, making extraction trickier. Providing ample room in the hive can simplify harvest time.
- Work on a Warm Day: Honey flows more easily in warmer temperatures, so if possible, harvest on a sunny day to help with extraction.
Having the right tools and understanding these extraction techniques makes the process efficient and stress-free for both you and your bees. When you’re ready, the next section will guide you through harvesting safely, focusing on bee welfare throughout the process. Let me know when to continue!
Ensuring Bee Safety During the Harvesting Process
The care of bees is an art that requires patience, gentleness, and understanding. – Dr. Thomas D. Seeley, a leading honeybee researcher.
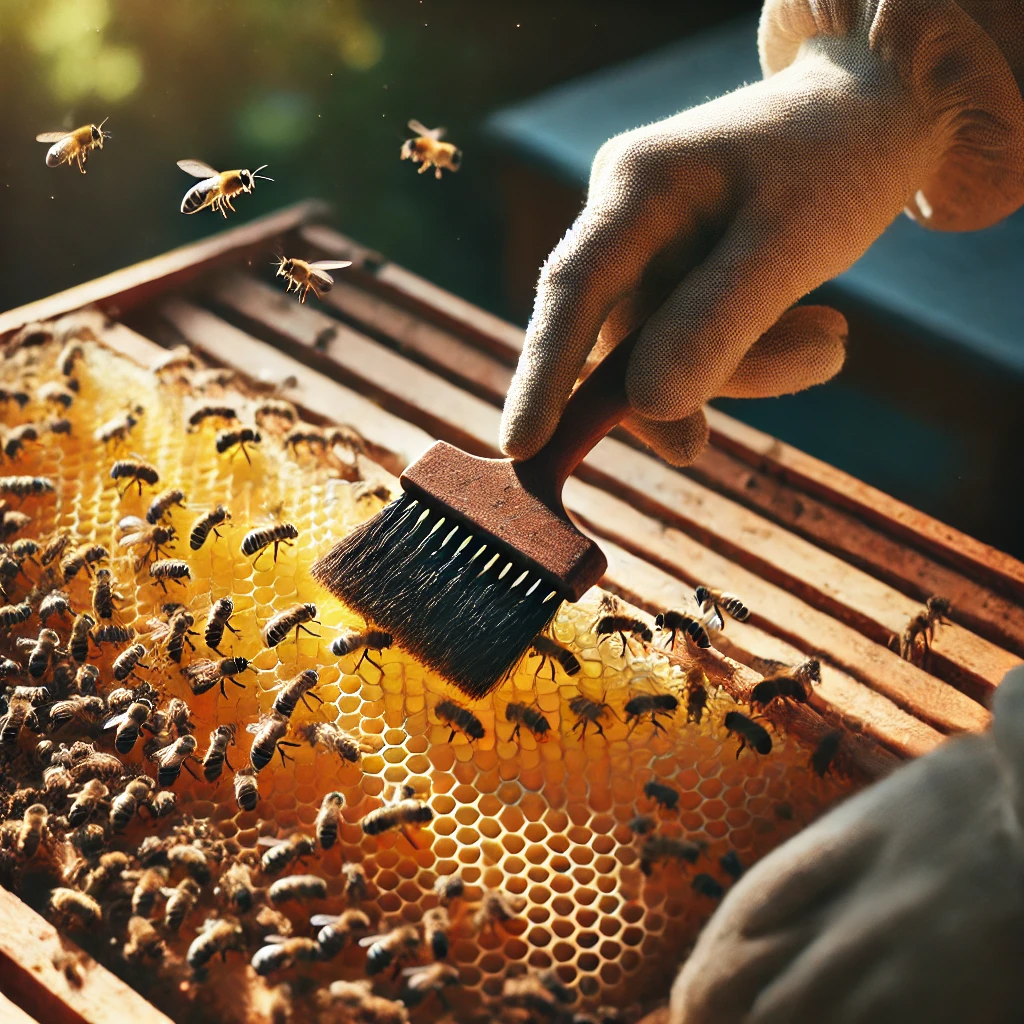
Harvesting honey doesn’t just involve gathering the golden liquid; it requires working harmoniously with the bees. Prioritizing bee safety not only keeps your hive healthy but also makes harvesting smoother and more enjoyable. Let’s explore practical ways to minimize stress for your bees and maintain a thriving hive.
Techniques to Protect Bees During Harvest
Bees are naturally protective of their hive, so handling frames with care is essential to avoid harming them. Here are a few proven techniques to keep things bee-friendly:
- Use Smoke Sparingly: A small amount of smoke from a bee smoker can help calm the hive, but avoid over-smoking, as it may agitate the bees or cause them to gorge on honey.
- Move Slowly and Gently: Quick movements can alarm bees. Work with steady hands and avoid sudden jerks when lifting frames or brushing bees aside.
- Utilize a Bee Escape: A bee escape, a small device that allows bees to exit the honey super without re-entering, helps clear frames with minimal contact. This reduces the need to brush bees off manually, which can be stressful for them.
Quick Tip: When brushing bees off a frame, do it gently, with a soft bee brush, and make short strokes rather than pushing them all at once.
Maintaining Hive Health After Harvesting
Your hive is a complex ecosystem that relies on balance. Over-harvesting or disturbing the hive too often can disrupt this balance, so here are some ways to maintain a stable, healthy colony post-harvest:
- Leave Sufficient Honey for Winter: Bees rely on their honey stores to survive the colder months. Make sure to leave 40-50 pounds of honey, especially if you live in a region with harsh winters.
- Keep Harvesting to a Minimum: Harvesting once or twice a year is usually sufficient for most hives, allowing bees to replenish their stores naturally.
- Monitor for Pests and Disease: Regularly check for mites or other common hive issues, as a stressed or depleted hive is more vulnerable to infestations. Healthy, undisturbed hives are more resilient.
Risks of Over-Harvesting and How to Avoid It
While honey is a valuable reward, over-harvesting can jeopardize the health of your bee colony. When bees are deprived of sufficient honey stores, they may become stressed, increasing the risk of swarming or abandoning the hive altogether. Here are some signs that you may be harvesting too much:
- Reduced Bee Activity: If you notice less bee activity after harvesting, it may indicate stress or low reserves.
- Increased Aggressiveness: Bees can become more defensive if their stores are reduced, as they feel the need to protect remaining resources.
- Poor Comb Development: Bees may reduce comb production if they are stretched too thin.
Remember, a happy hive is a productive hive. By following these gentle handling techniques and prioritizing bee welfare, you’ll foster a healthy, sustainable colony.
Honey Yield Expectations and Factors
One of the most common questions among beekeepers is, “How much honey can I expect from my hive?” Honey yield varies widely based on several factors, from the type of bees to the climate and even the local flowers available for foraging. Understanding these variables can help set realistic expectations and guide decisions to optimize your hive’s productivity.
Like all of nature’s gifts, honey is a resource to be managed wisely, with sustainability in mind. – Dr. Jane Goodall, environmentalist and primatologist.
Typical Honey Yield per Hive
Honey yield can fluctuate, but on average, a healthy, well-managed hive can produce between 30 to 60 pounds of honey per season. Some beekeepers report yields as high as 100 pounds under ideal conditions, though this is more the exception than the rule.
Quick Insight: Different bee species produce honey at varying rates. For instance, Italian bees are known for their strong honey production, whereas Carniolan bees focus on conserving resources, producing less honey but requiring less food for winter.
Factors Affecting Honey Production
Several factors come into play when determining how much honey your hive can yield. Let’s look at some of the most influential:
- Bee Species: Certain bee species are more prolific honey producers. Researching the characteristics of your bees can help you understand their productivity and food needs.
- Climate and Weather: Warm, sunny weather with moderate rainfall usually promotes the best honey production. Extreme heat, prolonged rain, or drought can reduce flowering plants, limiting bees’ nectar sources.
- Foraging Plants: The availability and variety of flowering plants around your hive affect honey yield. Bees need abundant, nectar-rich flowers to produce honey efficiently, so placing your hive near wildflowers, orchards, or clover fields can help boost yield.
- Colony Health: Strong, healthy colonies produce more honey. Keeping an eye on signs of disease or parasites, such as mites, can prevent disruptions in honey production. Routine hive inspections and prompt treatments when necessary can go a long way.
Tips to Maximize Honey Yield
Maximizing honey yield doesn’t mean pushing your bees to produce more than they can handle. Instead, focus on creating conditions that support their natural honey-making process:
- Optimize Hive Location: Place your hive in an area with good morning sunlight and some afternoon shade. Bees become more active when warm, making early sunlight ideal for foraging.
- Encourage Healthy Foraging: If possible, plant bee-friendly flowers or partner with neighbors or local farms to promote flowering plants that benefit both bees and the environment.
- Minimize Hive Disturbances: Regular inspections are necessary, but try to limit hive disruptions during peak honey production periods. Disturbances can stress bees, leading them to focus on colony repair instead of honey production.
Did You Know? Strong hives that produce excess honey also require more space to prevent overcrowding. Adding a honey super (a box that holds additional frames for honey storage) can help prevent swarming and promote higher yields.
By understanding and managing these factors, you can help your bees reach their maximum honey production potential without stressing the colony. In the next section, we’ll dive into what happens after harvest—how to handle honey and honeycombs to ensure quality and prevent waste. Let me know when you’re ready for that!
Post-Harvest Handling of Honey and Honeycombs
Once you’ve harvested the honey, it’s time to focus on preserving its quality and managing the leftover honeycomb. Post-harvest handling is a crucial part of beekeeping, ensuring that every ounce of honey is usable and that the hive remains in good condition for future production.
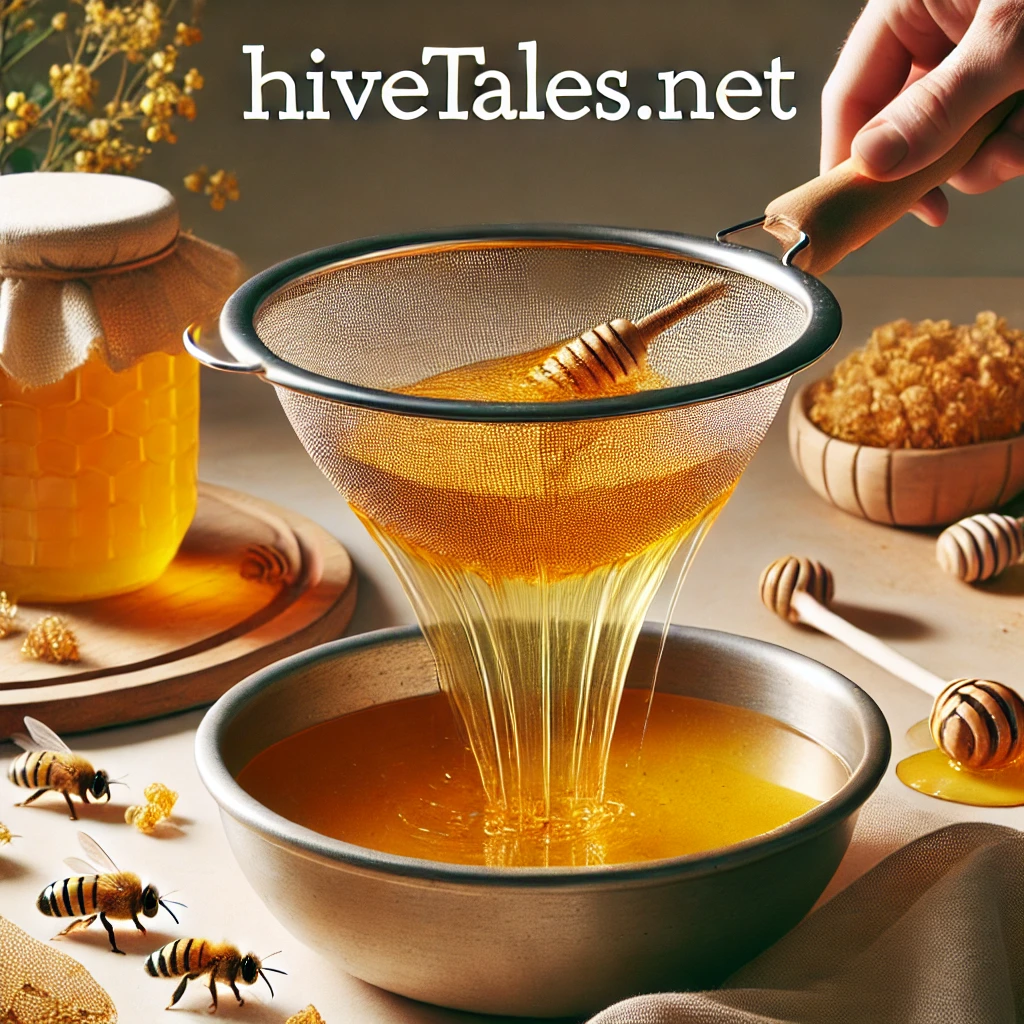
Straining and Filtering Honey
Freshly harvested honey often contains small particles of wax, bee parts, and other natural debris. Straining honey removes these impurities, giving it a smooth, clean texture.
- Basic Straining: Pour honey through a fine mesh strainer or cheesecloth into a clean container. This process will filter out most impurities.
- For a Finer Texture: If you want exceptionally clear honey, consider using a double-strainer or a honey filter with even smaller mesh. This will remove tiny particles and give your honey a premium appearance.
Tip: Avoid overheating honey during straining, as high temperatures can damage its natural enzymes and reduce health benefits.
Do You Need to Pasteurize Honey?
Unlike many other food products, honey does not require pasteurization. Its natural low moisture content and acidity make it resistant to bacteria and spoilage. Pasteurizing honey can actually reduce some of its health benefits by degrading its natural enzymes and antioxidants. For most small-scale beekeepers, filtering alone is sufficient for high-quality honey.
Handling Wax Cappings
Wax cappings, the thin layer of wax bees use to seal each honey cell, are a valuable byproduct of honey harvesting. Don’t toss them! Here are a few ways to use wax cappings:
- Melt and Clean the Wax: Place cappings in a solar wax melter or heat them gently to separate the wax from any residual honey.
- Create Homemade Products: Beeswax is an excellent base for natural candles, lip balms, and salves. Many beekeepers find creative ways to use wax for these DIY products.
- Use as an Attractant for Bees: Some beekeepers place wax cappings near the hive to encourage bees to forage nearby or to help establish a new colony.
Reusing Honeycombs: Benefits and Considerations
Reusing honeycombs saves bees energy, as they won’t have to rebuild from scratch. However, a few things to consider when reusing honeycombs:
- Inspect for Damage: After extracting honey, inspect the comb for wear or damage. Damaged combs should be removed or replaced to avoid hive stress.
- Prevention Against Disease: Reusing honeycombs is generally safe, but if you notice any signs of disease, it’s best to replace the comb entirely. This keeps the hive healthy and reduces the risk of contamination.
- Storage Tips for Extra Combs: If you have more honeycombs than your bees currently need, store them in a cool, dry place to prevent wax moths or mold growth.
Avoiding Waste and Making the Most of Your Harvest
Every part of the honeycomb has a use. Consider using leftover honeycomb bits as a natural sweetener or garnish for recipes, or melt down the wax for sustainable home projects.
Pro Tip: Place freshly harvested honeycombs in an area away from the hive but accessible to bees. They’ll clean any leftover honey from the wax, returning it to the hive and reducing waste.
With these post-harvest handling steps, you’re well on your way to making the most of each harvest. Up next, we’ll talk about storing and preserving your honey to maintain its flavor and quality for months to come. Let me know when you’re ready for the next section!
Storing and Preserving Harvested Honey
Honey is one of the few foods that has an eternal shelf life. When stored properly, it remains a treasure of nutrition. – Dr. Bart Smith, microbiologist specializing in bee products at the USDA.
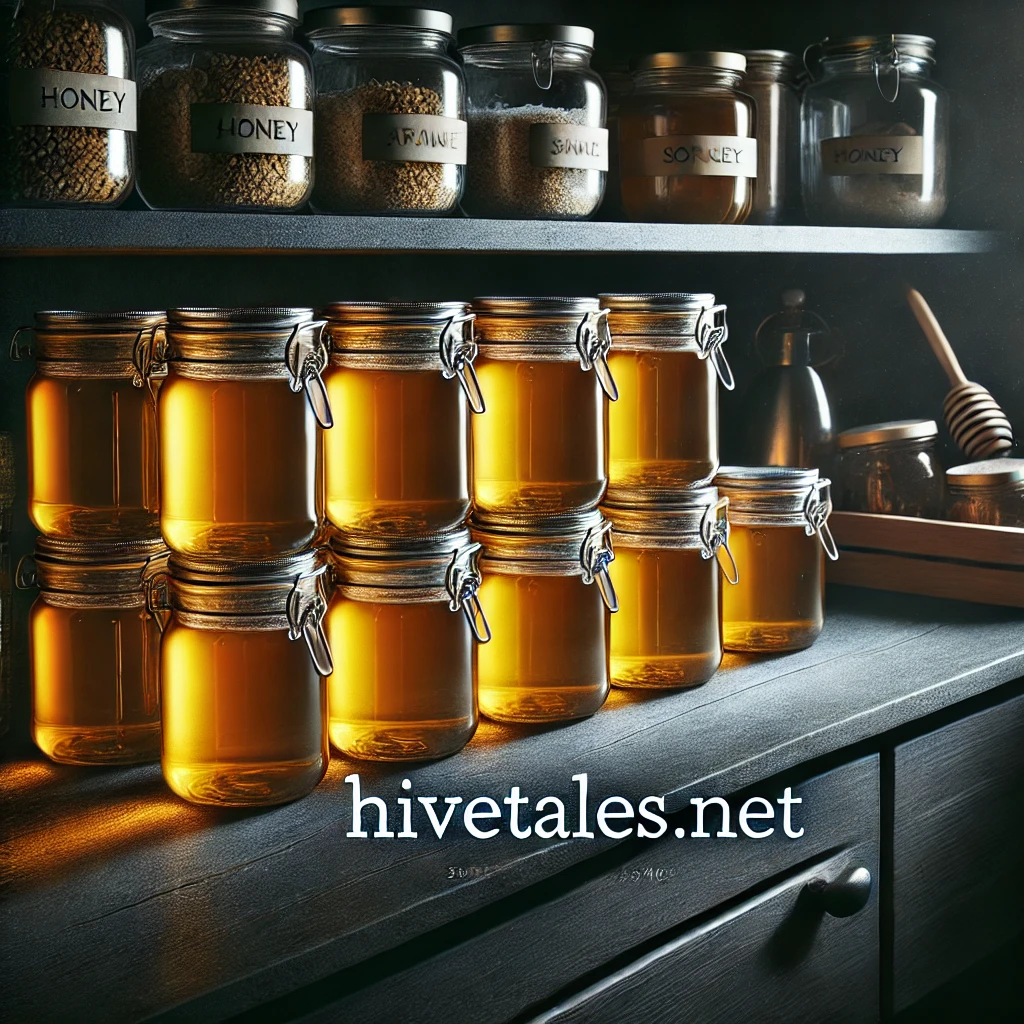
Proper storage is essential for maintaining the flavor, texture, and health benefits of your honey. While honey has a remarkably long shelf life, following best practices for storage ensures it remains fresh and delicious for as long as possible. Let’s dive into how to store honey effectively and prevent common issues like crystallization.
Best Practices for Honey Storage
Storing honey isn’t complicated, but a few basic principles can make a big difference:
- Use Airtight Containers: Honey naturally absorbs moisture from the air, which can cause it to ferment over time. Store honey in glass jars or BPA-free plastic containers with tight-fitting lids to keep out moisture and contaminants.
- Store in a Cool, Dark Place: Exposure to heat and sunlight can degrade honey’s quality and alter its flavor. A pantry or cupboard away from appliances and direct sunlight is ideal. Aim for a storage temperature between 50–70°F.
- Avoid Metal Containers: Some metals can react with honey, leading to undesirable flavors and discoloration. Stick to glass, food-safe plastic, or ceramic containers for long-term storage.
Did You Know? Properly stored honey can last indefinitely due to its low moisture content and high acidity, which naturally prevent spoilage.
How to Prevent Crystallization
Crystallization is a natural process where honey’s sugars separate and form crystals, making it thick and grainy. While crystallized honey is still perfectly safe to eat, many people prefer it in its liquid state. Here are some tips to keep honey smooth and pourable:
- Store at Room Temperature: Storing honey in a cool (but not cold) location reduces the likelihood of crystallization. Avoid refrigeration, as lower temperatures accelerate crystallization.
- Opt for Clear Containers: Sometimes, visual cues can prevent issues. Using clear glass jars allows you to monitor for early signs of crystallization and gently warm the honey if necessary.
If your honey does crystallize, you can return it to its liquid form by placing the container in warm (not boiling) water and stirring gently until the crystals dissolve.
Ideal Containers and Conditions
Choosing the right storage container can protect honey’s flavor and texture:
- Glass Jars: Glass is non-reactive and airtight, making it an excellent choice for preserving honey.
- BPA-Free Plastic: Lightweight and safe, plastic is convenient if you’re storing larger quantities or using honey on the go.
- Ceramic Containers: Ideal for keeping honey on the countertop, ceramic containers are stylish and protective, though make sure they have a tight seal.
Avoid direct sunlight and fluctuating temperatures to prevent changes in texture and taste over time. A simple pantry shelf often provides the perfect balance of darkness, coolness, and stability.
Does Honey Ever Go Bad?
One of honey’s amazing qualities is its near-infinite shelf life. However, improper storage can introduce moisture or contaminants, which can lead to fermentation or spoilage. Keep your honey jar clean by using dry, clean utensils each time, and replace the lid promptly after each use.
Quick Tip: If you notice bubbles or a sour smell, your honey may have fermented. While it’s still safe to use in baking or recipes, it’s no longer ideal for raw consumption.
Creative Uses for Older Honey
If your honey starts to crystallize or change texture, don’t discard it. Use crystallized honey in baking, smoothies, or as a spread—it’s just as nutritious and flavorful. Older honey can also be melted down and used in homemade cosmetics like lip balms or face masks.
By following these storage techniques, you’ll keep your honey fresh and delicious for months (or even years) to come. Now that your honey is safely stored, let’s move to the final section: ensuring the quality of your harvested honey and maintaining your equipment for future harvests.
Ensuring Quality and Maintaining Honey Harvesting Equipment
After a successful honey harvest, ensuring quality doesn’t end with storage. Regular equipment maintenance and quality checks on your honey are essential for both high standards and future harvests. This section covers simple steps to keep your honey in top shape and maintain equipment longevity.
Testing Honey Quality
Quality honey isn’t just about taste—it’s also about ensuring the honey’s natural properties remain intact. Here are a few ways to test and verify honey quality:
- Moisture Content Check: Honey should ideally have a moisture content of around 17-18% to avoid fermentation. A refractometer can measure moisture levels accurately, helping you confirm that your honey is stable for long-term storage.
- Clarity and Purity: High-quality honey should be clear and free of bubbles or particles. If you notice any cloudiness that’s not due to natural crystallization, consider filtering it again for a smooth, clean appearance.
- Taste Test: Raw honey has a naturally rich and floral taste, while processed or overly heated honey may lose some flavor. Sampling your honey can reveal changes and assure quality.
Pro Tip: Honey’s flavor can vary based on the flowers bees visit. Tasting different batches can help you identify subtle flavor notes and appreciate the diversity in your honey.
Benefits of Using Fresh Honeycomb
Fresh honeycomb has a unique taste and texture that can add value to your harvest. Many people enjoy chewing on raw honeycomb for its natural sweetness and mild waxy texture. Additionally, fresh honeycomb can be an attractive option for small-batch sales, as it highlights the natural origins of your honey.
- Honeycomb in Cooking: Honeycomb makes a beautiful, edible garnish for cheese platters, desserts, or salads.
- Natural Sweetener: Use small pieces of honeycomb in tea or hot water, where it melts slightly, adding a subtle honey flavor.
Maintaining Your Harvesting Equipment
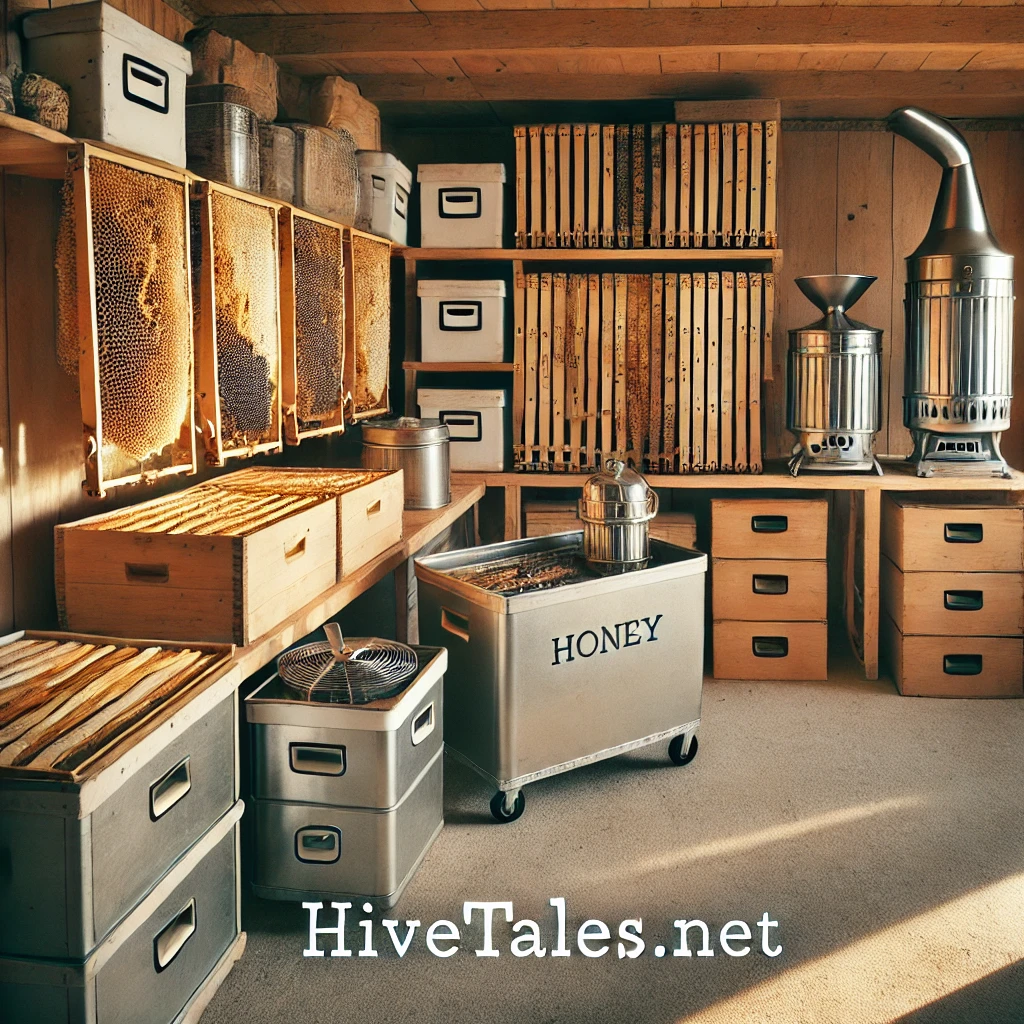
Clean and well-maintained equipment not only extends the life of your tools but also ensures your honey remains free from contaminants. Here’s a quick guide on how to care for your key harvesting tools:
- Cleaning the Honey Extractor: After each use, rinse the extractor with warm water to remove honey residue. Avoid using harsh chemicals, as they can affect the taste and safety of future honey batches.
- Sanitizing Frames and Tools: Use a mild, food-safe cleaner for tools and frames. Let everything air-dry thoroughly to prevent rust or mold.
- Storing Equipment: Store tools in a cool, dry place. Cover your extractor and other metal items with a breathable cloth to keep dust off without trapping moisture.
Equipment Replacement and Upgrades
Over time, some equipment parts may need replacing. Frames, brushes, and extractors can wear out with use, and upgrading can make future harvests easier:
- Consider Upgrading to an Electric Extractor: For beekeepers with multiple hives, electric extractors save time and effort. Manual extractors are great for small-scale beekeepers but can become a workout with larger yields.
- Replace Worn Frames: Old or damaged frames can harbor bacteria or weaken, making it difficult to maintain a healthy hive.
With regular quality checks on your honey and a consistent equipment maintenance routine, you’ll ensure each harvest is high-quality and efficient. Congratulations on completing the honey harvesting journey! Let’s wrap up this guide with a few final thoughts and resources for deeper learning.
Conclusion: Mastering the Art of Honey Harvesting
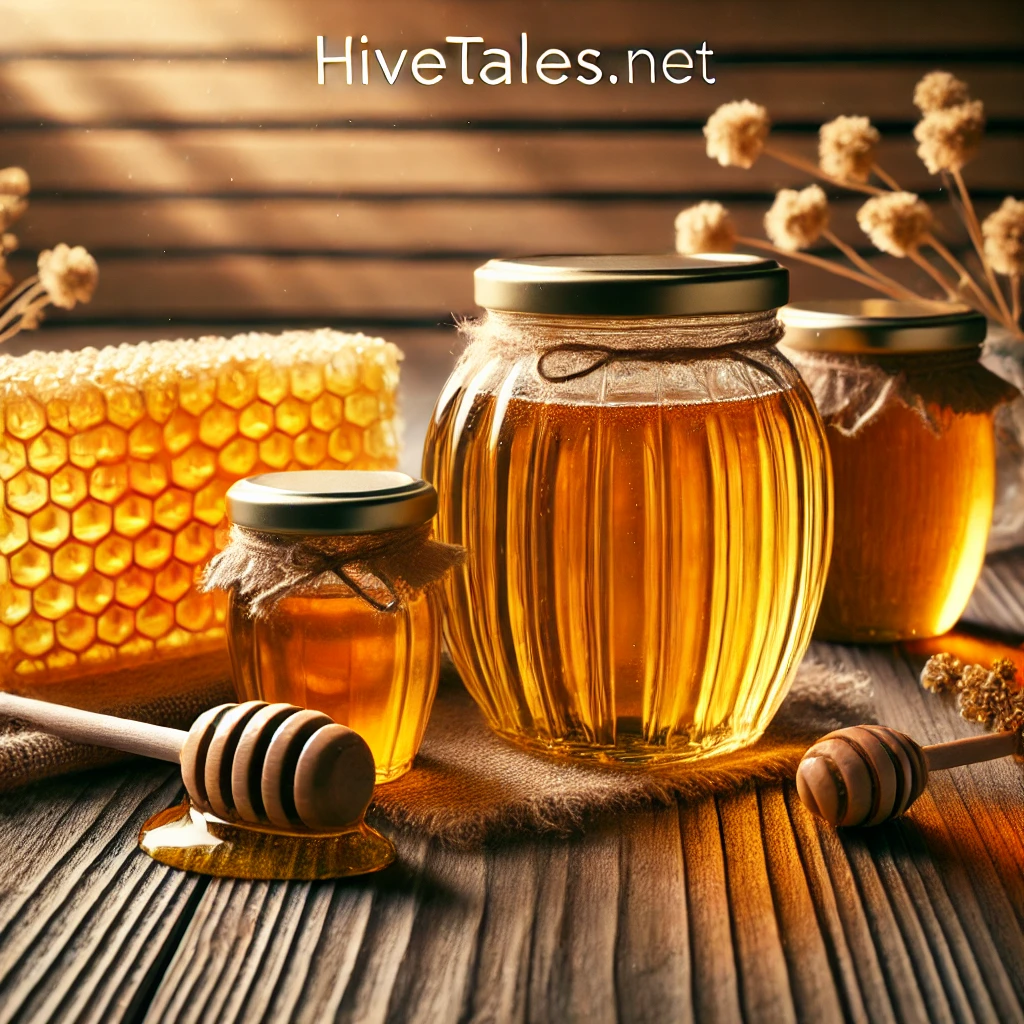
Congratulations! You’ve journeyed through each stage of honey harvesting, from understanding the perfect timing and essential tools to ensuring the safety of your bees and maximizing honey yield. Honey harvesting is an art that, when done with care, provides countless rewards—not just in honey but in fostering a healthy, sustainable hive.
Key Takeaways
- Timing and Bee Safety: Harvesting at the right time and taking gentle care during the process help maintain a thriving hive.
- Equipment Essentials: Using the right tools, whether a simple bee brush or a more advanced honey extractor, makes the experience smoother.
- Storage and Quality: Proper storage keeps your honey fresh and flavorful for years, while clean equipment ensures the same quality for future harvests.
Remember, each harvest is a chance to learn more about beekeeping and connect with your bees. There’s always something new to discover, from experimenting with different flowers for unique honey flavors to exploring sustainable ways to use wax cappings.
Explore More on Hive Tales
Want to expand your beekeeping knowledge? Check out these articles for deeper insights:
- Beekeeping for Beginners: A complete guide to help newcomers set up their first hive with confidence.
- Popular Honey Types: Discover the unique flavors and benefits of honey varieties, from clover to wildflower.
Final Thought: “Harvesting honey is more than a task—it’s a way to contribute to the environment, support local ecosystems, and enjoy the fruits of nature’s sweetest work.”
Thank you for joining us on this guide! For more tips and tricks, be sure to follow Hive Tales. And if you’re ready to see honey in action, don’t miss our video on the health benefits of raw honey—a perfect way to appreciate all the effort you and your bees put into each drop.
External References
- Beekeeping 101 – This guide offers a detailed step-by-step honey harvesting process, focusing on handling bees carefully and using the correct tools for uncapping, extracting, and storing honey. Ideal for beginner beekeepers looking for structured guidance.
- Beekeeping Trove – This blog provides practical tips for honey extraction, including how to work with frames, cut wax cappings, and handle honey post-extraction. It’s especially valuable for first-time beekeepers interested in easy-to-follow methods.
- Manukora – Known for its focus on high-quality honey, Manukora emphasizes responsible harvesting techniques that preserve honey’s natural state. They discuss the importance of capped honey for quality and ways to minimize smoke use to keep bees comfortable.
- I Love Beekeeping – This resource highlights the timing for harvest, moisture content considerations, and how to inspect honey cells to prevent spoilage. It’s a great reference for ensuring honey quality through specific equipment like refractometers.
- Morning Chores – With a focus on sustainable beekeeping, Morning Chores guides readers through honey harvesting, equipment sharing tips, and handling honeycombs. It’s an accessible reference for those wanting community-based beekeeping insights.
- Carolina Honeybees – Carolina Honeybees provides an extensive step-by-step on honey harvesting, detailing how to use fume boards, protective gear, and proper storage methods post-harvest. The guide is practical and covers best practices for quality control.
